
Hello friends!
My blog game has been slacking lately, but I wanted to show you something new I did this weekend: Making a new photo background for my food photos. I previously used a board I bought from Hobby Lobby as the base of my food photos and a cheap white flimsy board I bought from Home Depot. I knew it was time for an upgrade & I also wanted to make the boards bigger. I find myself taking photos at times and wishing I had more space to work with. So here is how you can make one for yourself (or how to make a distressed board for crafting and other DIY projects)
DIY Food Photo Back Drop
Things you will need:
2 Boards from Lowes that are the size you want
white paint
water
paint brush
stain
stain cloth or sponge
paint can opener
paint stir stick
sand paper

Here are the boards I bought & I bought two of the same size

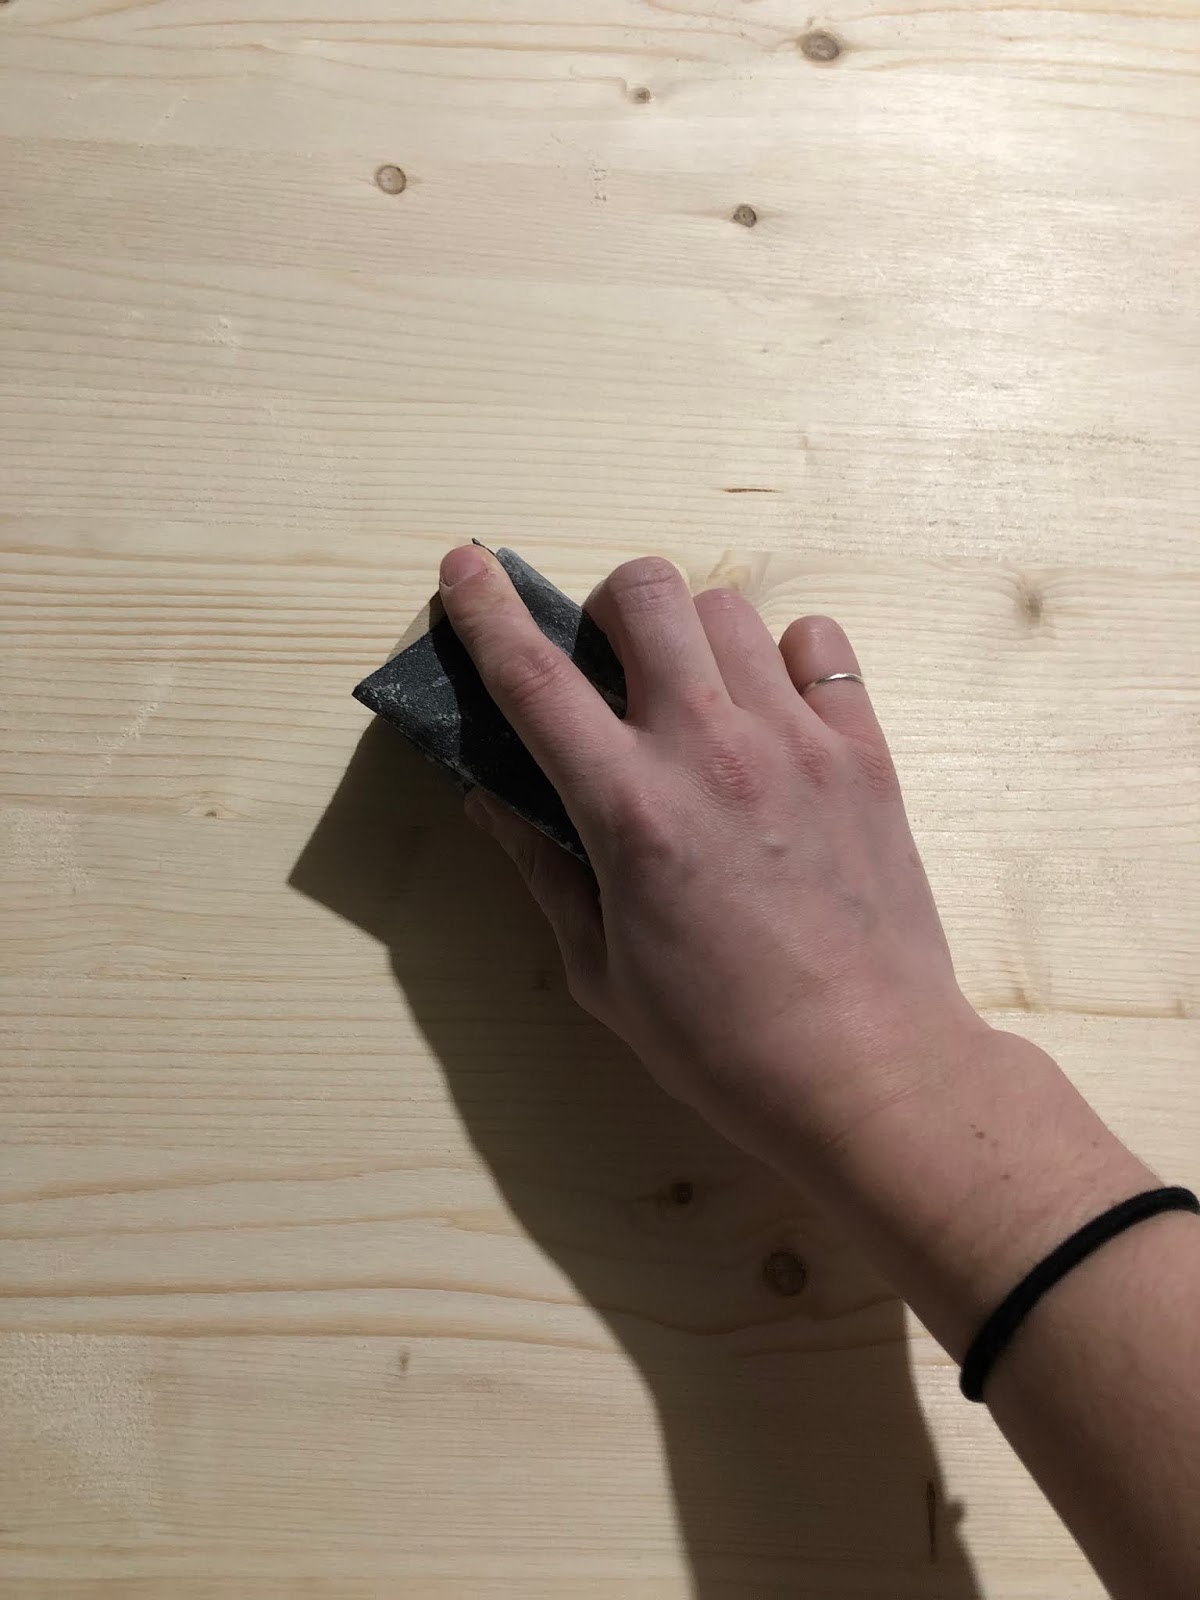
Prop the boards up on something like saw horses & give the boards a light sanding all over


Next, add some water to white paint (this is what I call a white wash). You want the texture of the paint to be thin. You can try to start with a 50/50 mixture of white paint and water. Stir the mixture together

Brush the white wash onto the boards in a thin-ish coat. Since it is a white wash, it will soak into the wood pretty easy.

Here is what the finished white washed wood looks like

Let the white wash dry for a couple hours & then sand the wood lightly again

Next, you are going to use a stain on top of the white wash coat. This is the brand and color I used

Using a sponge or cloth, apply the stain in an even layer and lightly just to cover the entire board


Here is what the stain looks like once it is applied

Allow the stain to dry for a couple hours. Here is what the board looks like as it is drying

Here is the final piece! I am so happy with how it turned out. I am still debating if I want to put any sort of sealer or top coat on this as I don't want the color to change. So for right now, I am keeping it as is!

Here are some food photo examples using my new boards:


Other examples of things I have made using this technique:
DIY Floating Desk

We put polyurethane over top of this wood once I did the sanding, white wash, sanding, staining, drying. We did 3-4 coats of polyurethane to help seal the wood.
DIY Kitchen Island

This counter top is a butcher block that we cut to fit stock clearance cabinets we got from Lowes. The butcher block used the exact same steps as the desk (i.e added polyurethane).
Painted Wood Sign

The sign above also uses the same technique and I sprayed a clear matte polyurethane coat over top.
That's it! This is a super easy and affordable way to DIY your own food photo back drop.
Later Taters
"It's a beautiful day, don't let it get away."
No comments:
Post a Comment
Thank you so much for taking the time to visit my blog. I love hearing from readers, so feel free to comment below xoxo